New Users
This guide will walk you through the process of adding new users to CryspIQ. Follow the instructions below to quickly and easily create user accounts and assign access privileges.
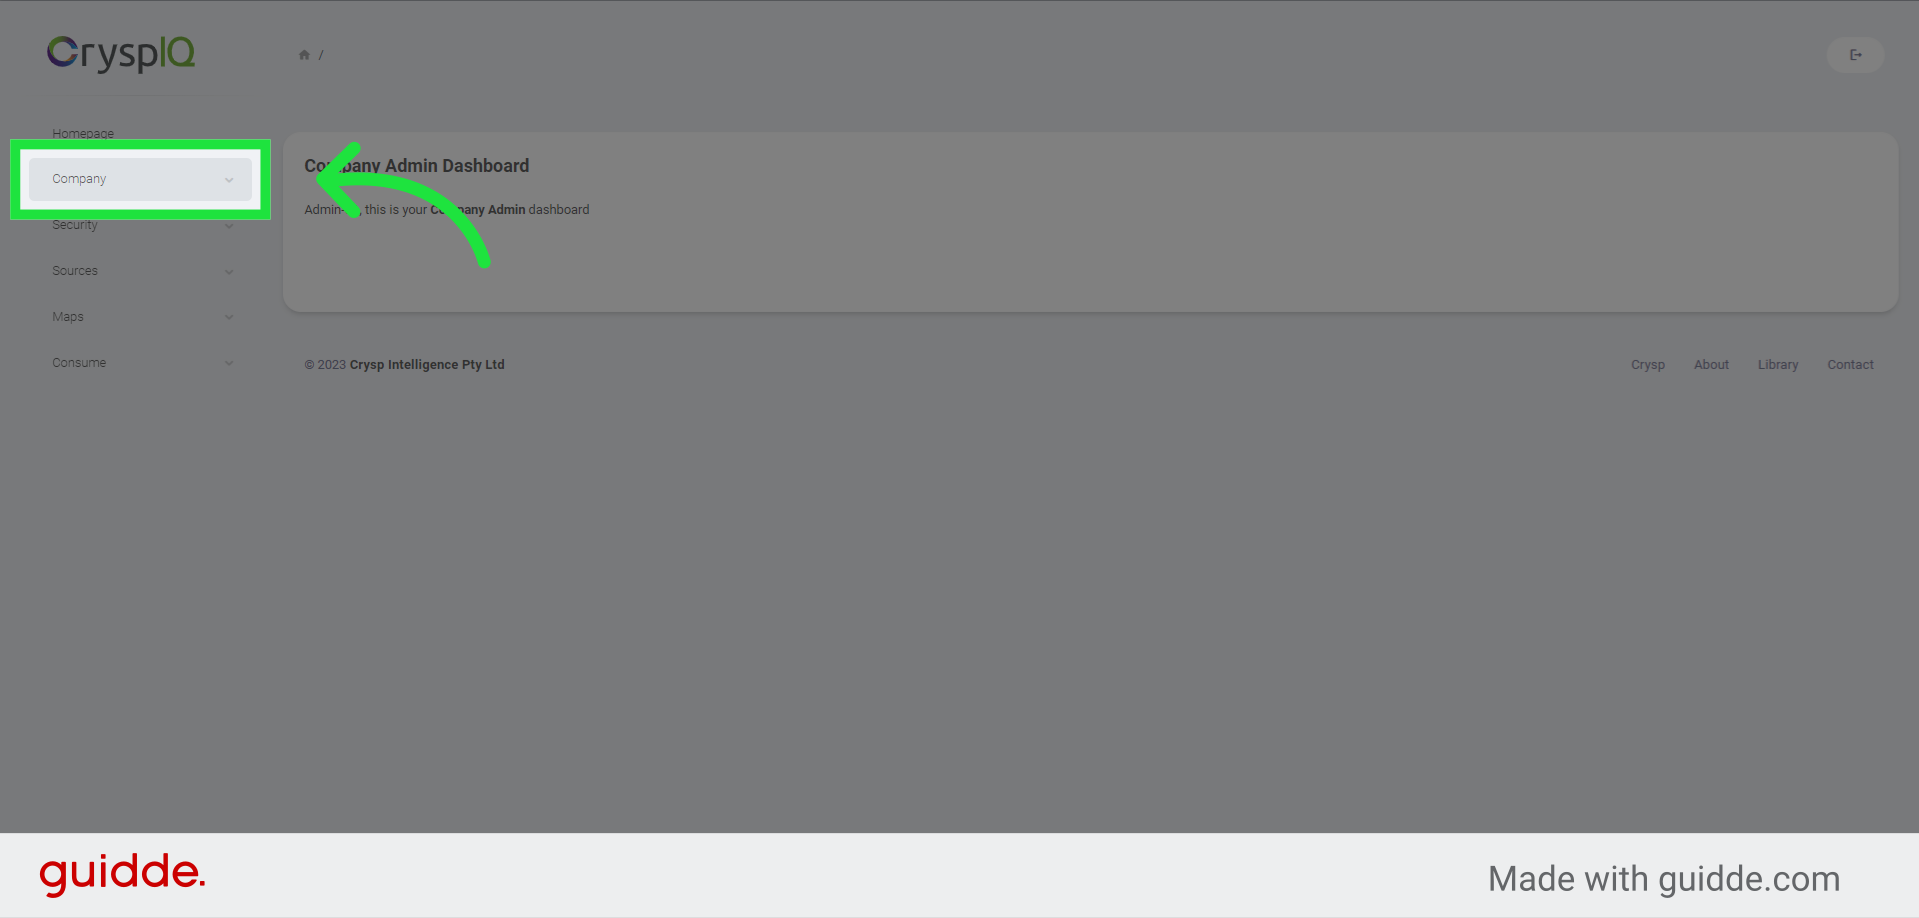
1. Click "Company"
First, expand the Company menu.
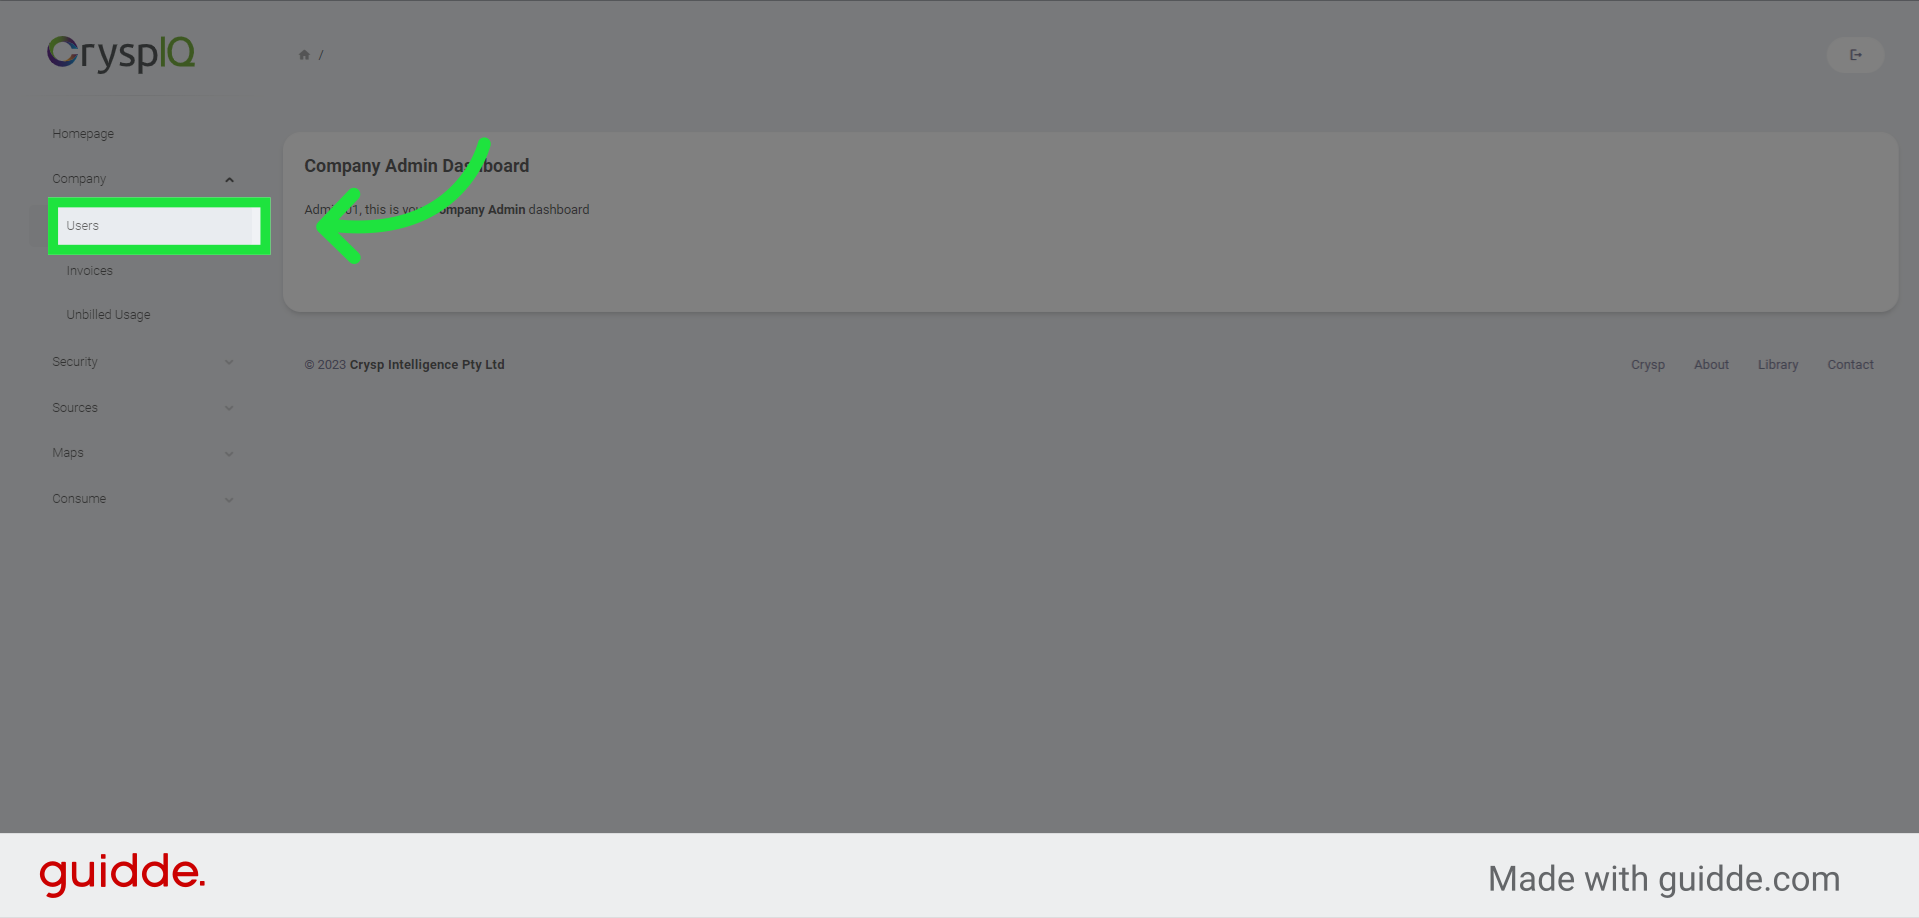
2. Select the Users option.
Now select the "Users" option.
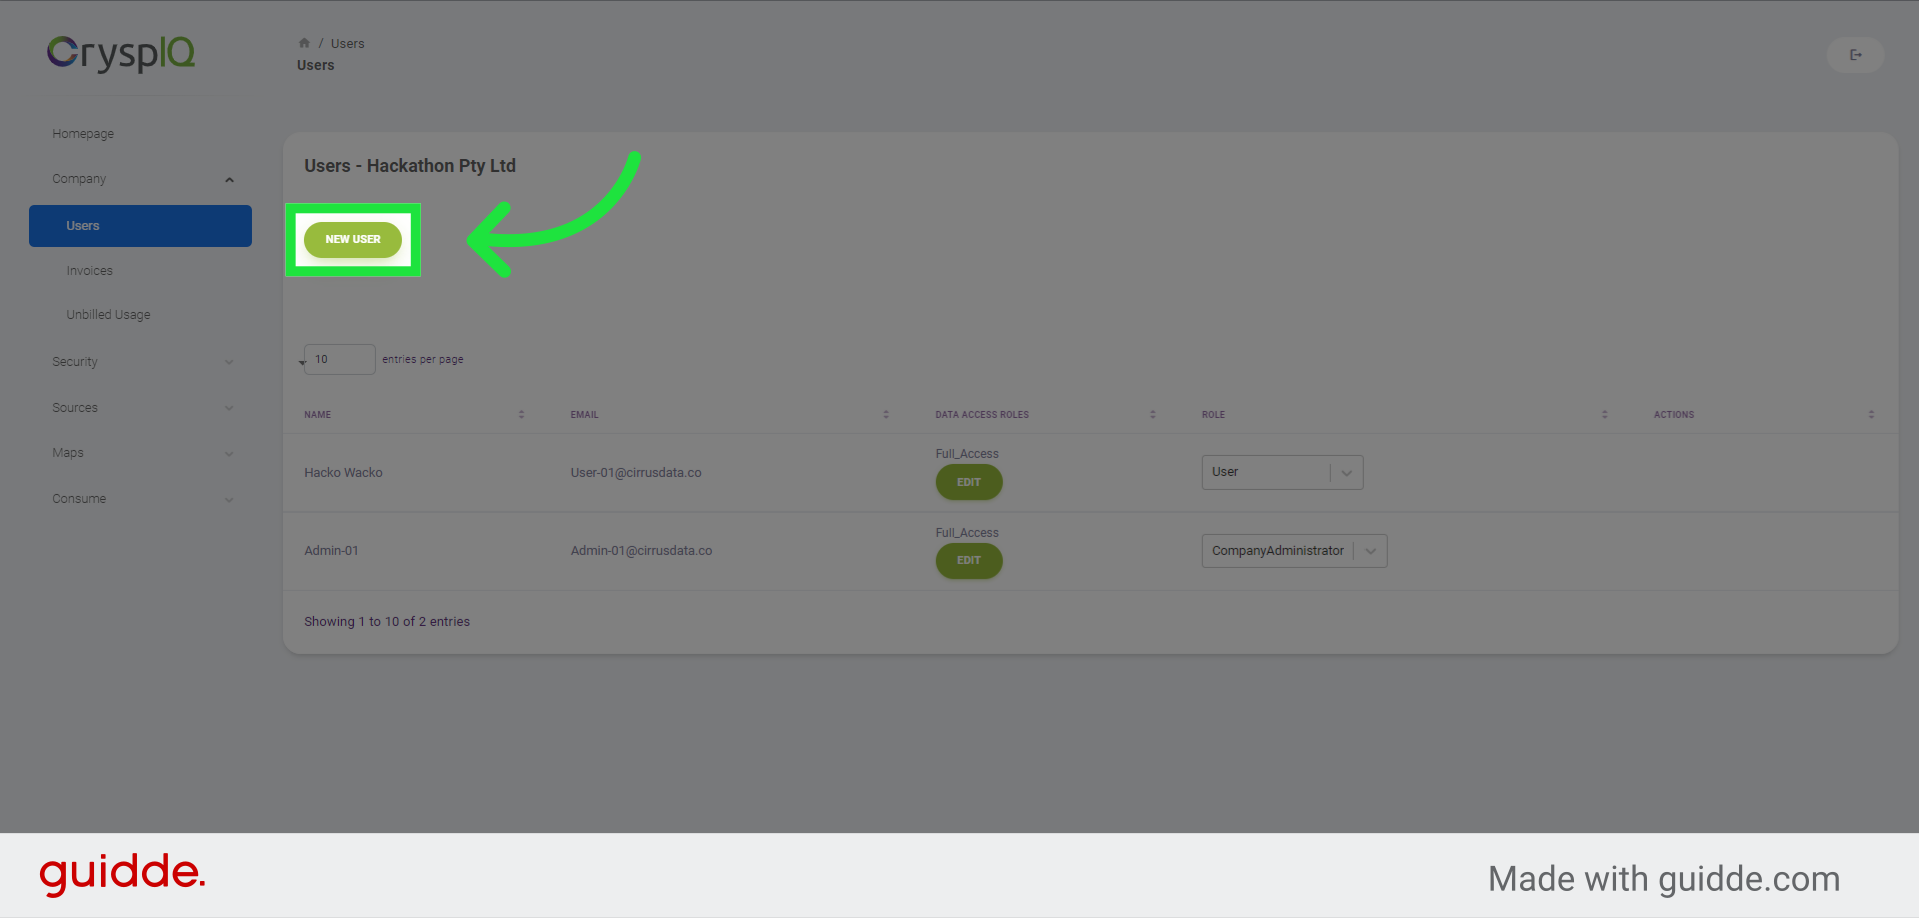
3. Choose the New User option.
Then choose the "New User" option.
4. Enter first name and last name
Now you have to enter the user's first and last name,
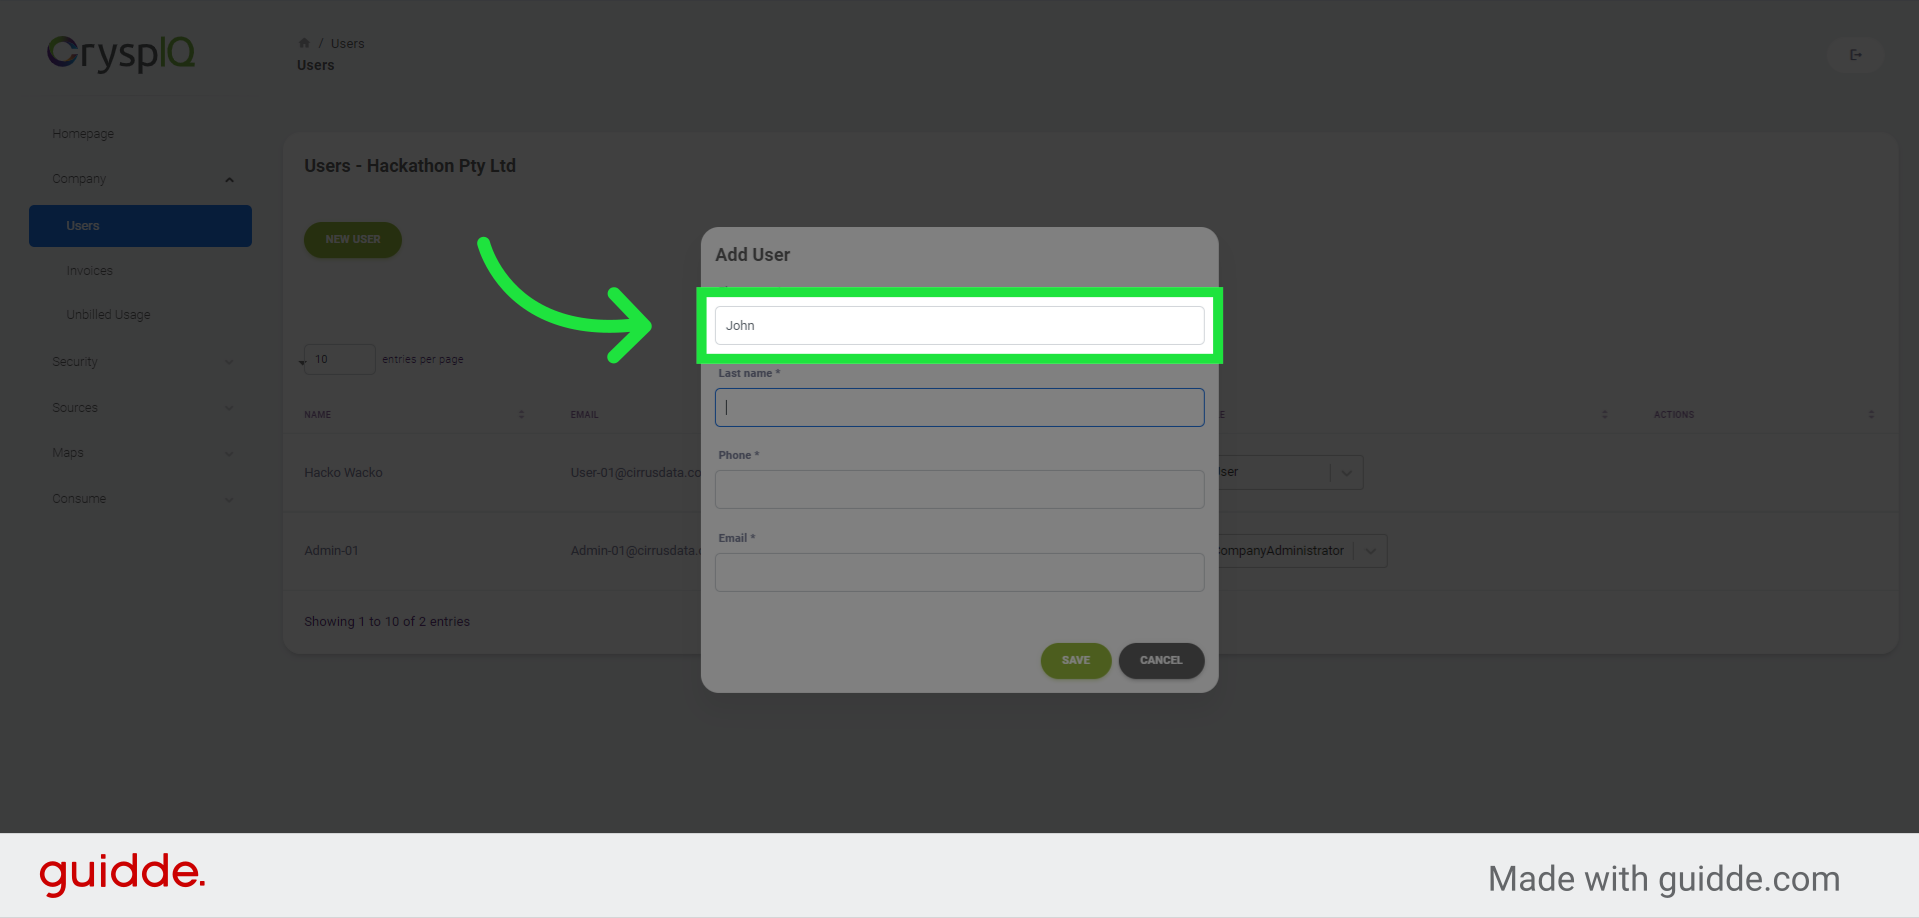
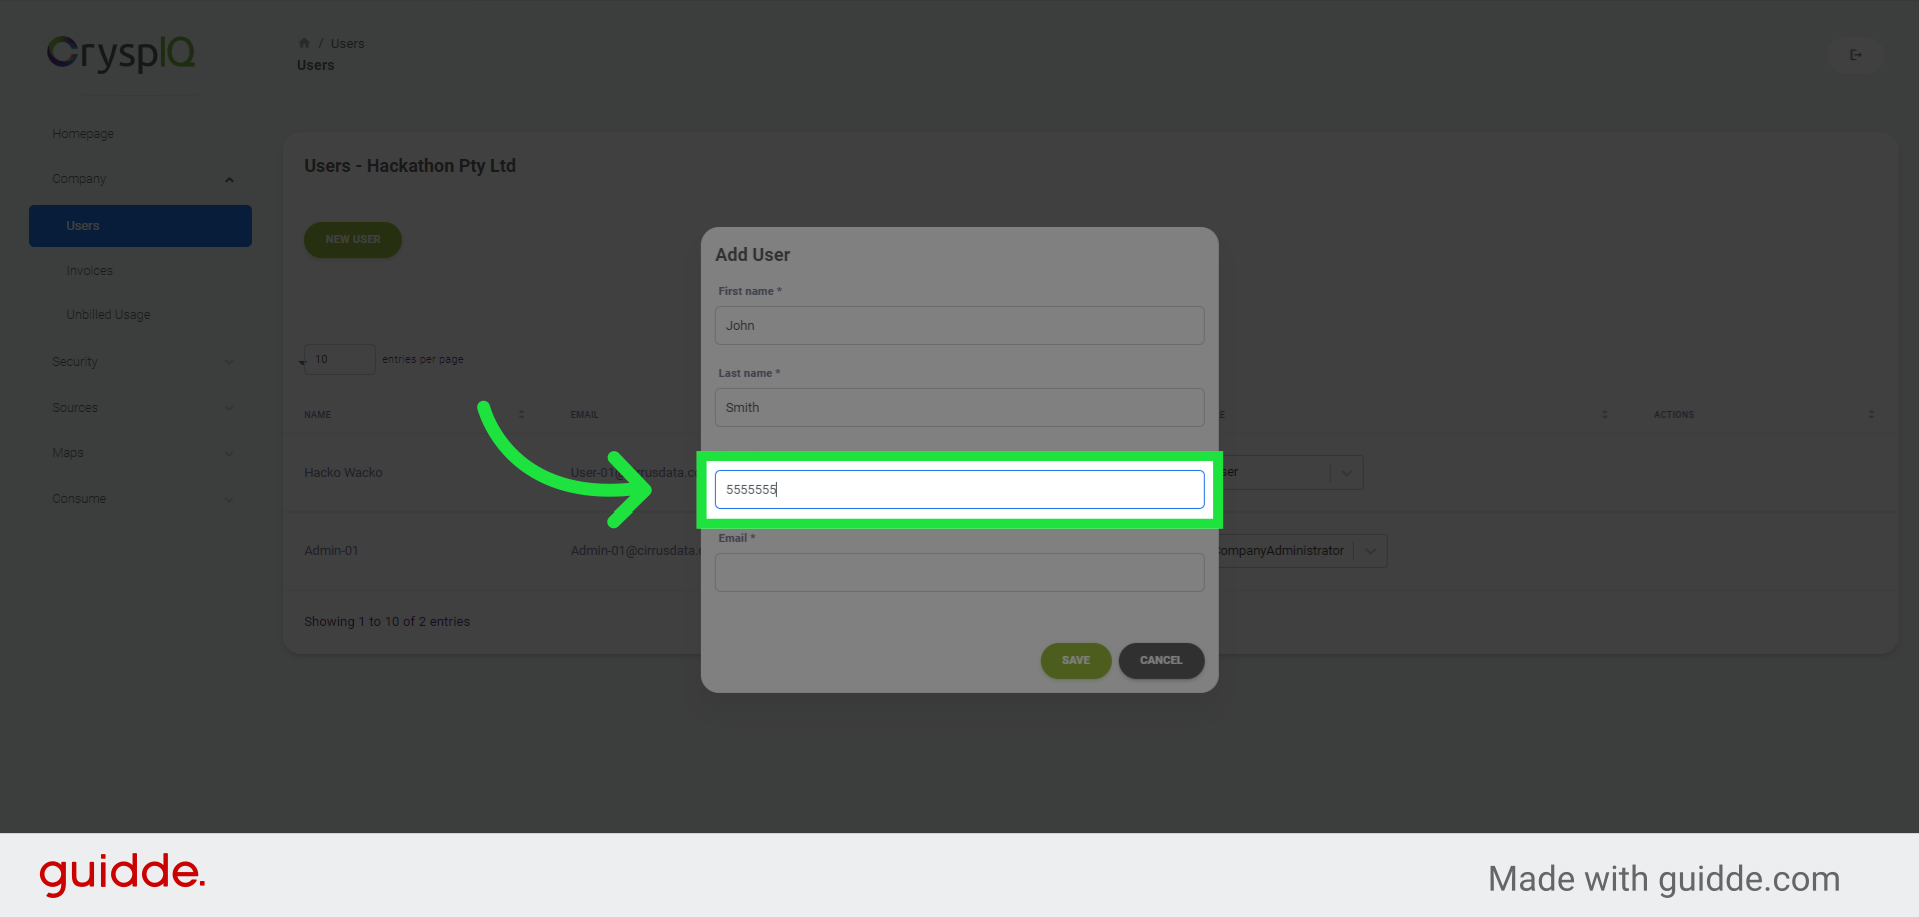
5. Enter contact telephone number
the user's contact telephone number,
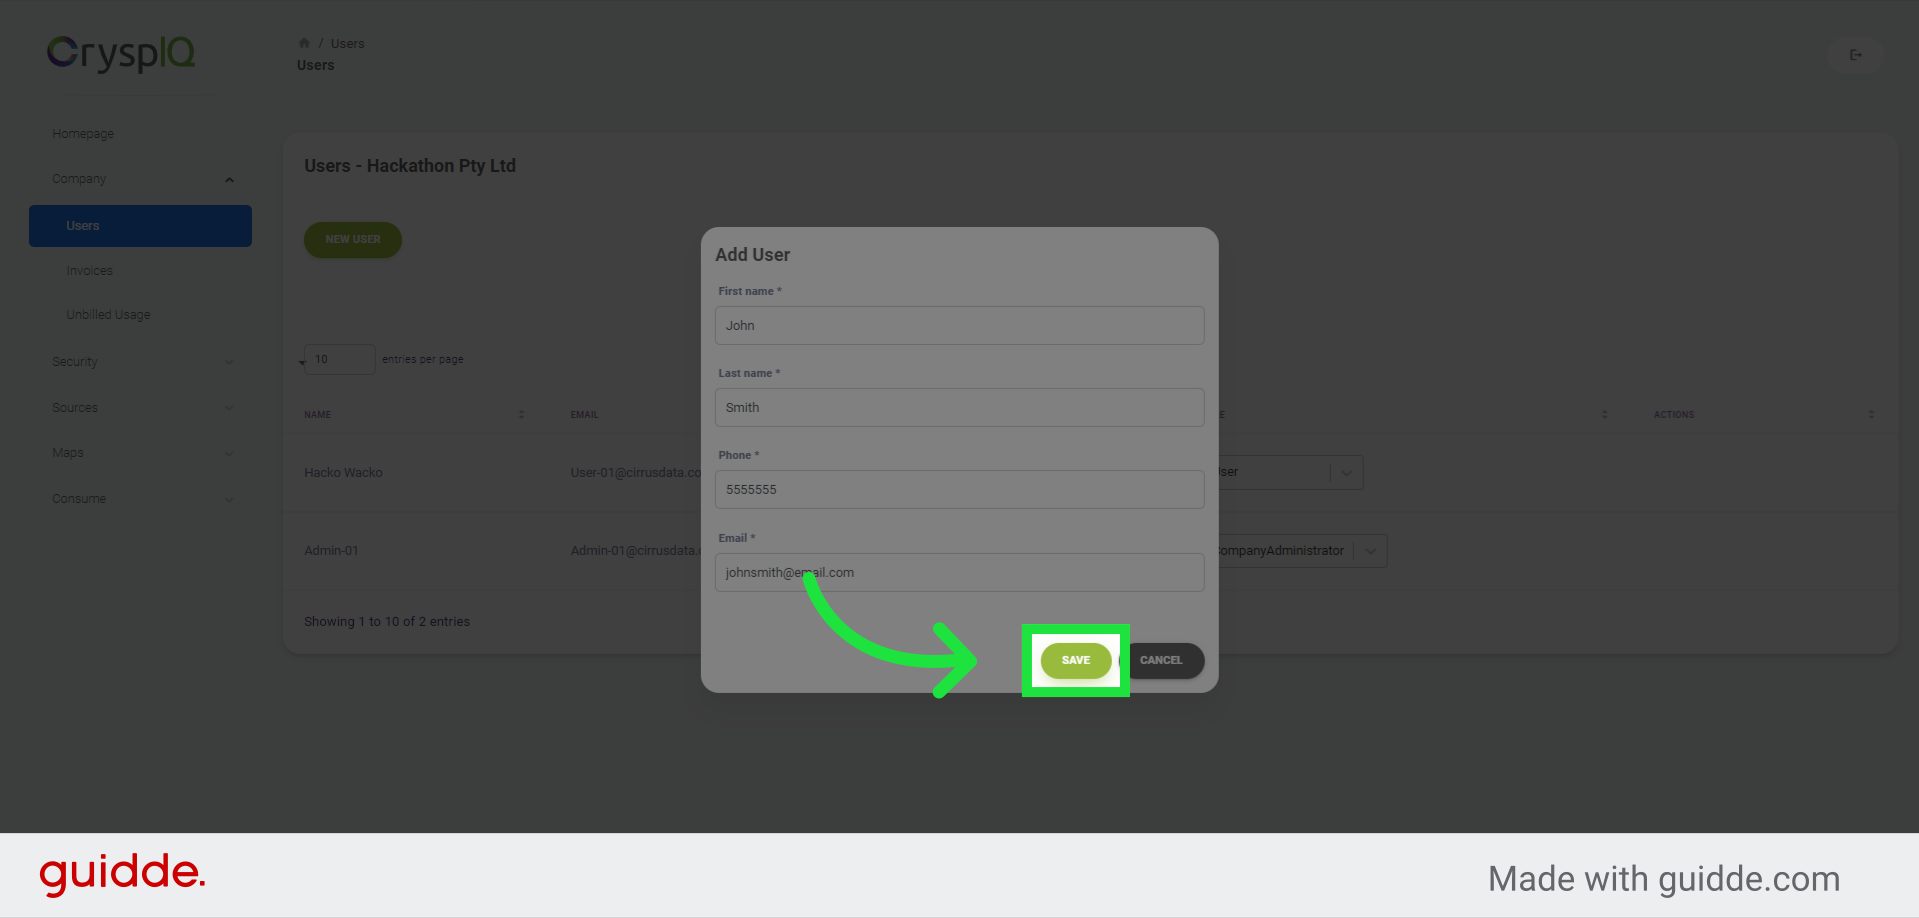
6. Enter a valid email address and click on "Save"
and lastly a valid email address for the new user. Then click on the "Save" button. A welcome email will be sent to inform this person of their access to CryspIQ.
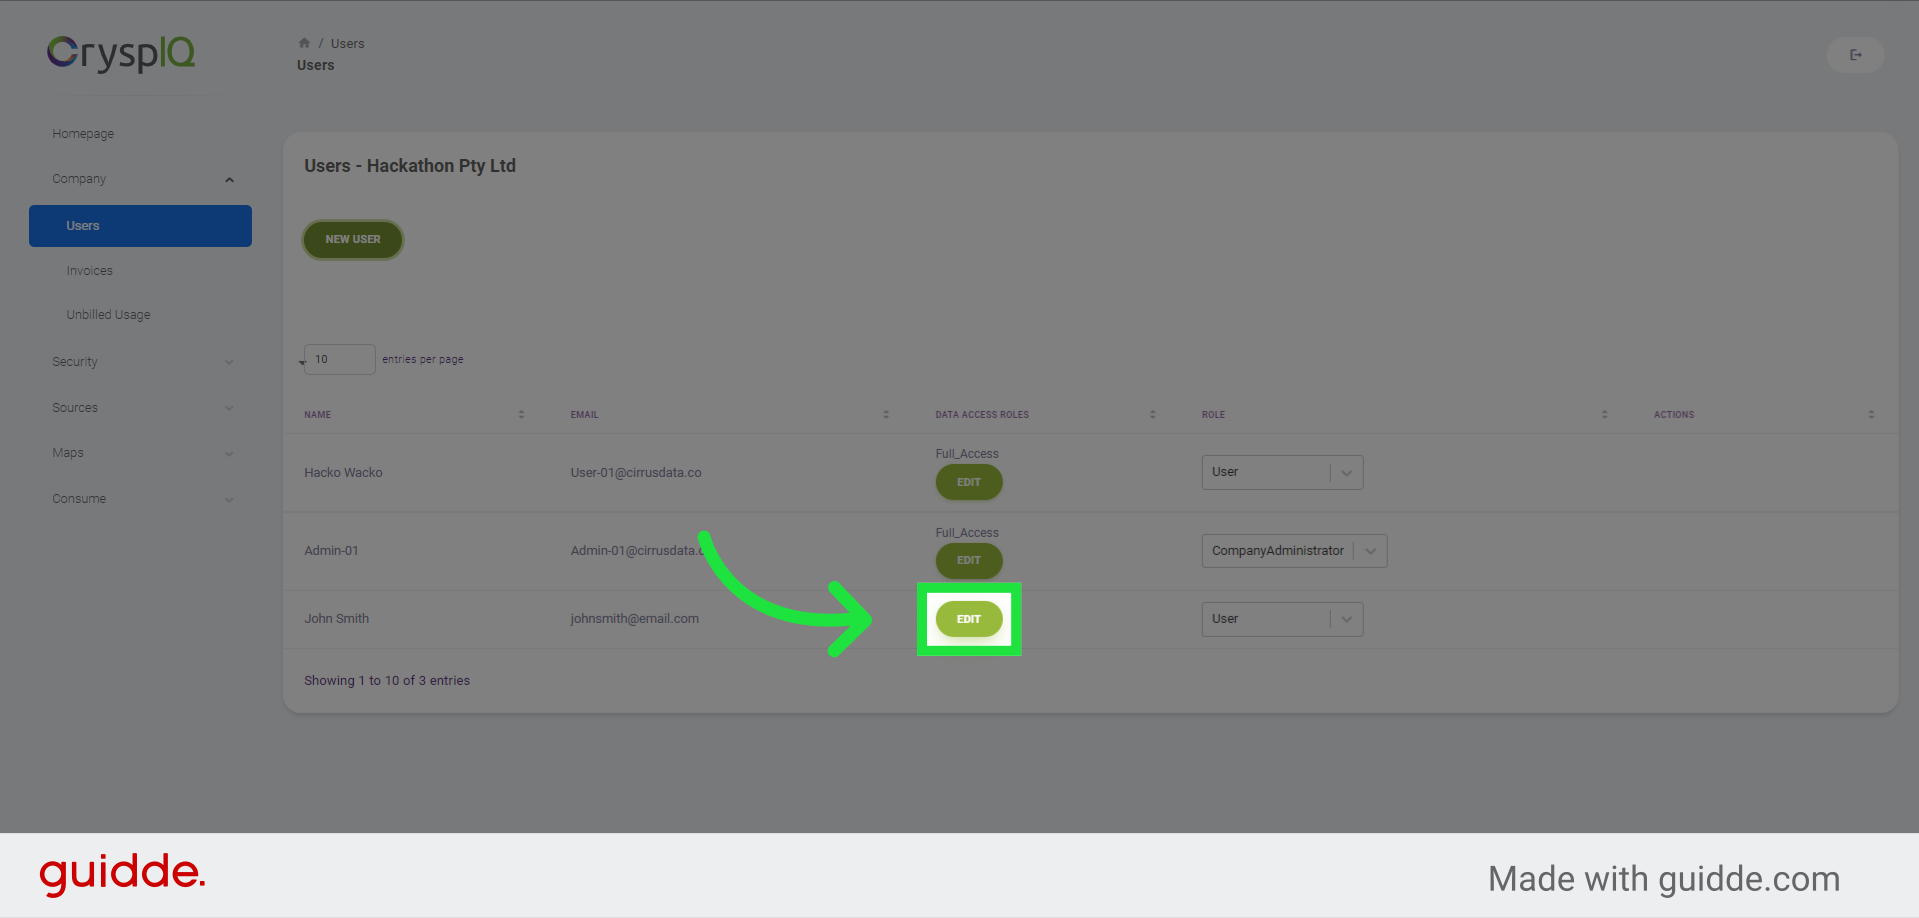
7. Click "Edit" to assign user roles
A user needs to belong to one or more roles to access data stored in CryspIQ. Click on the "edit" button to assign one or more roles to the user.
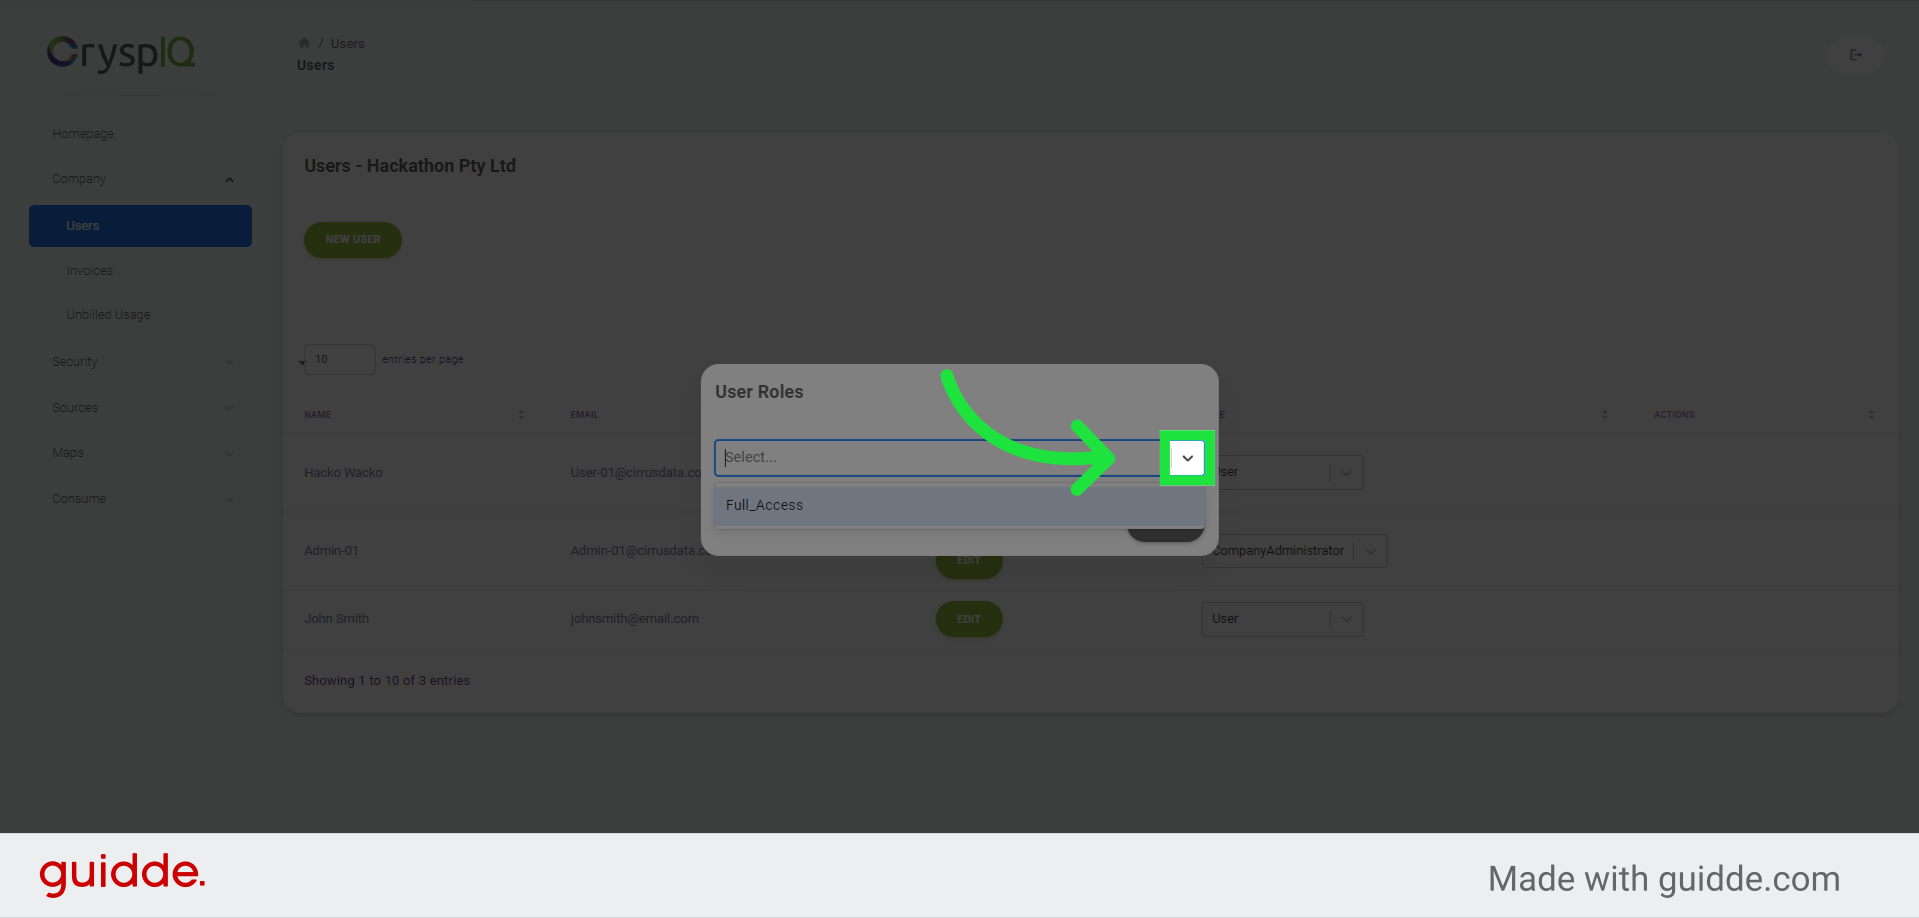
8. Select a role from the dropdown list
Now select a role you want to assign to the user.
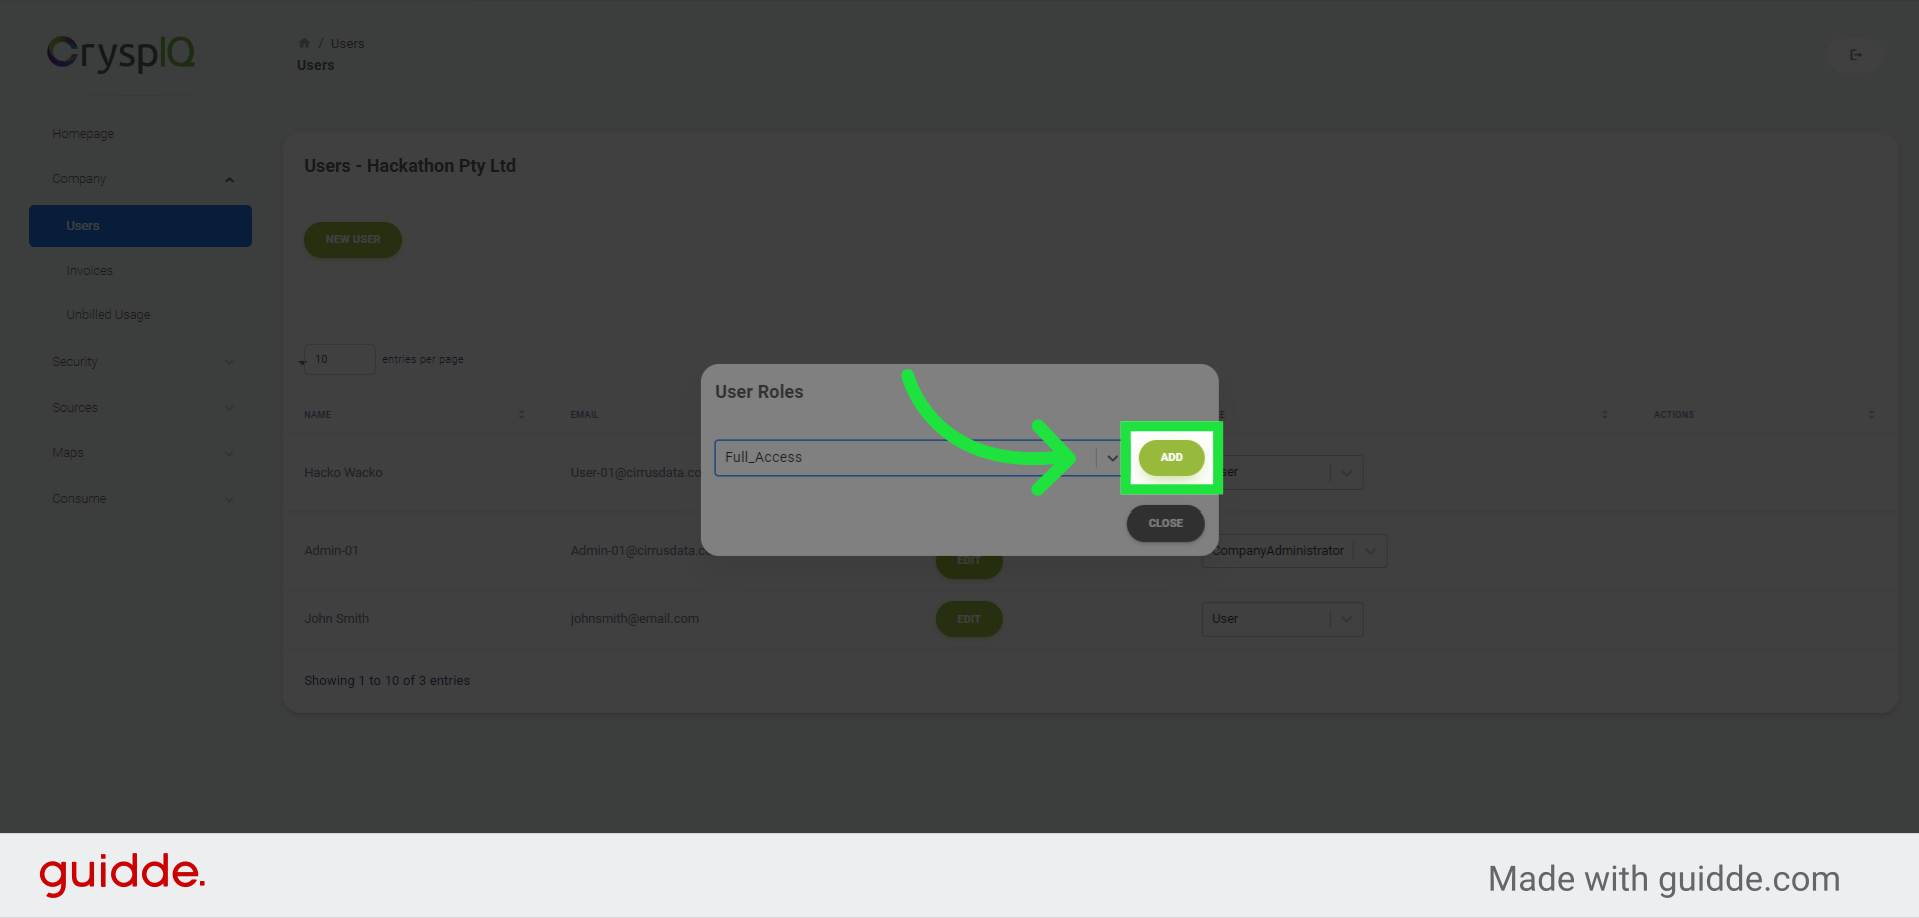
9. Click "Add" to assign the role to the user
Click "Add" to assign the role. If you want to assign more roles, select another role from the dropdown list and repeat the process.
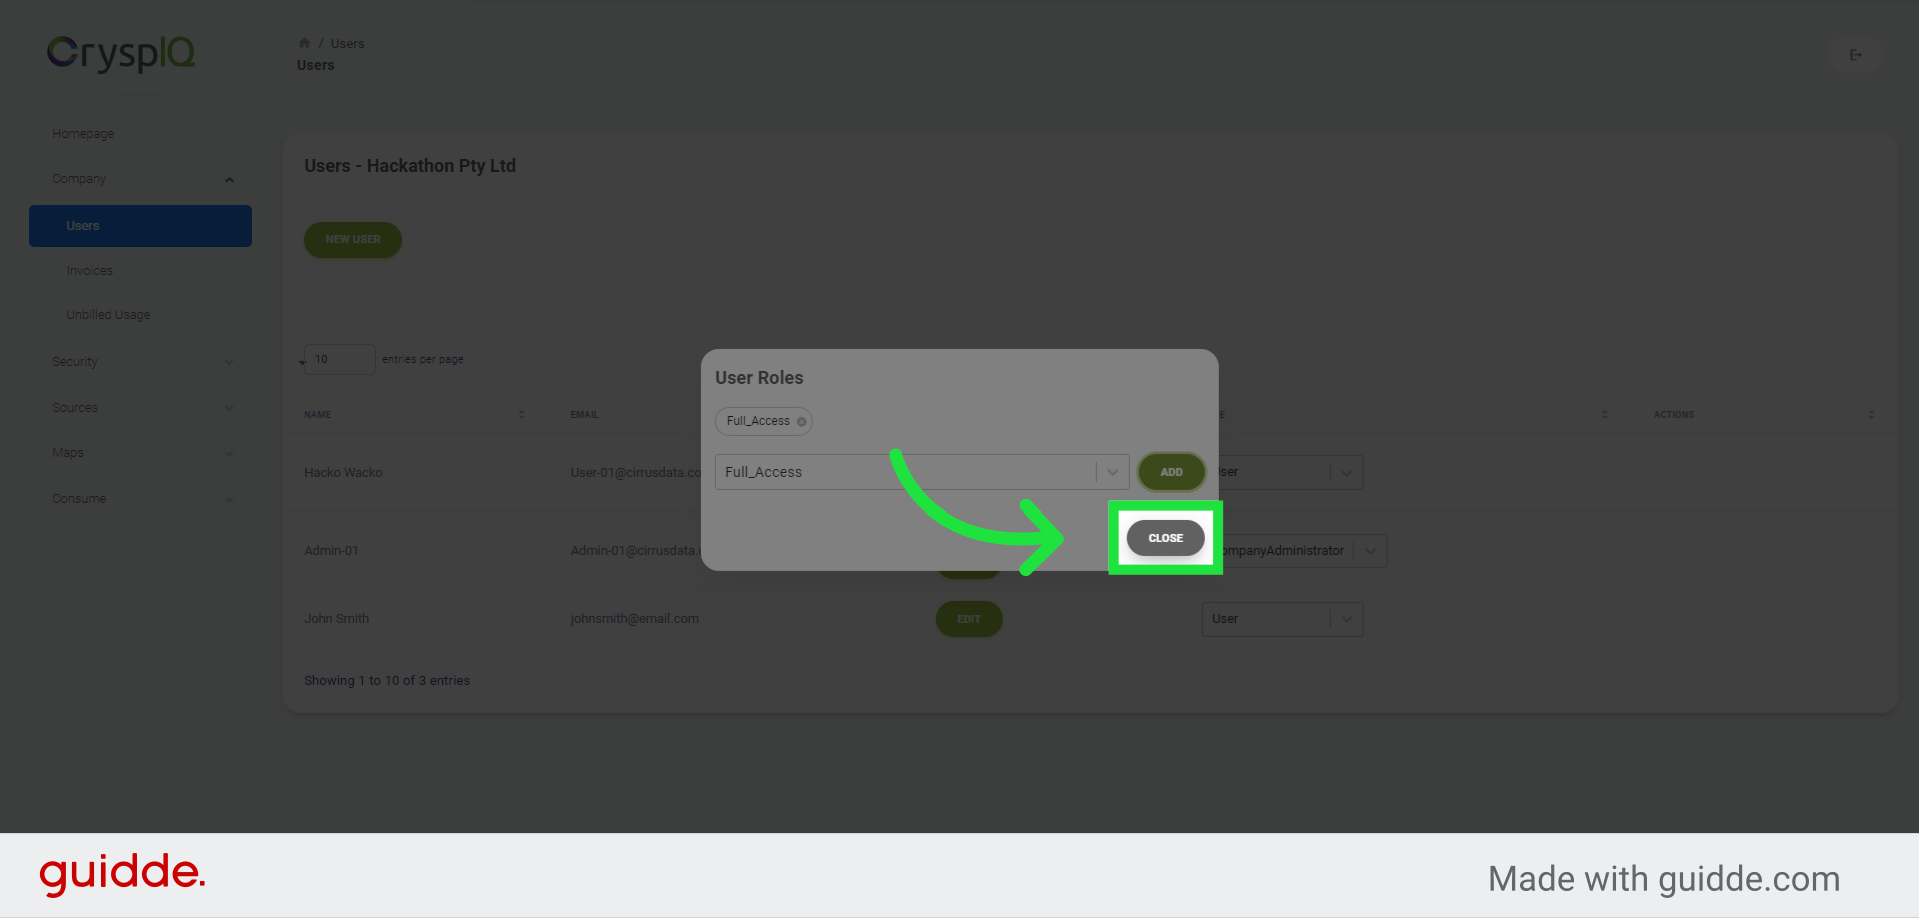
10. Click "Close" when done adding roles
Click "Close" when done adding roles
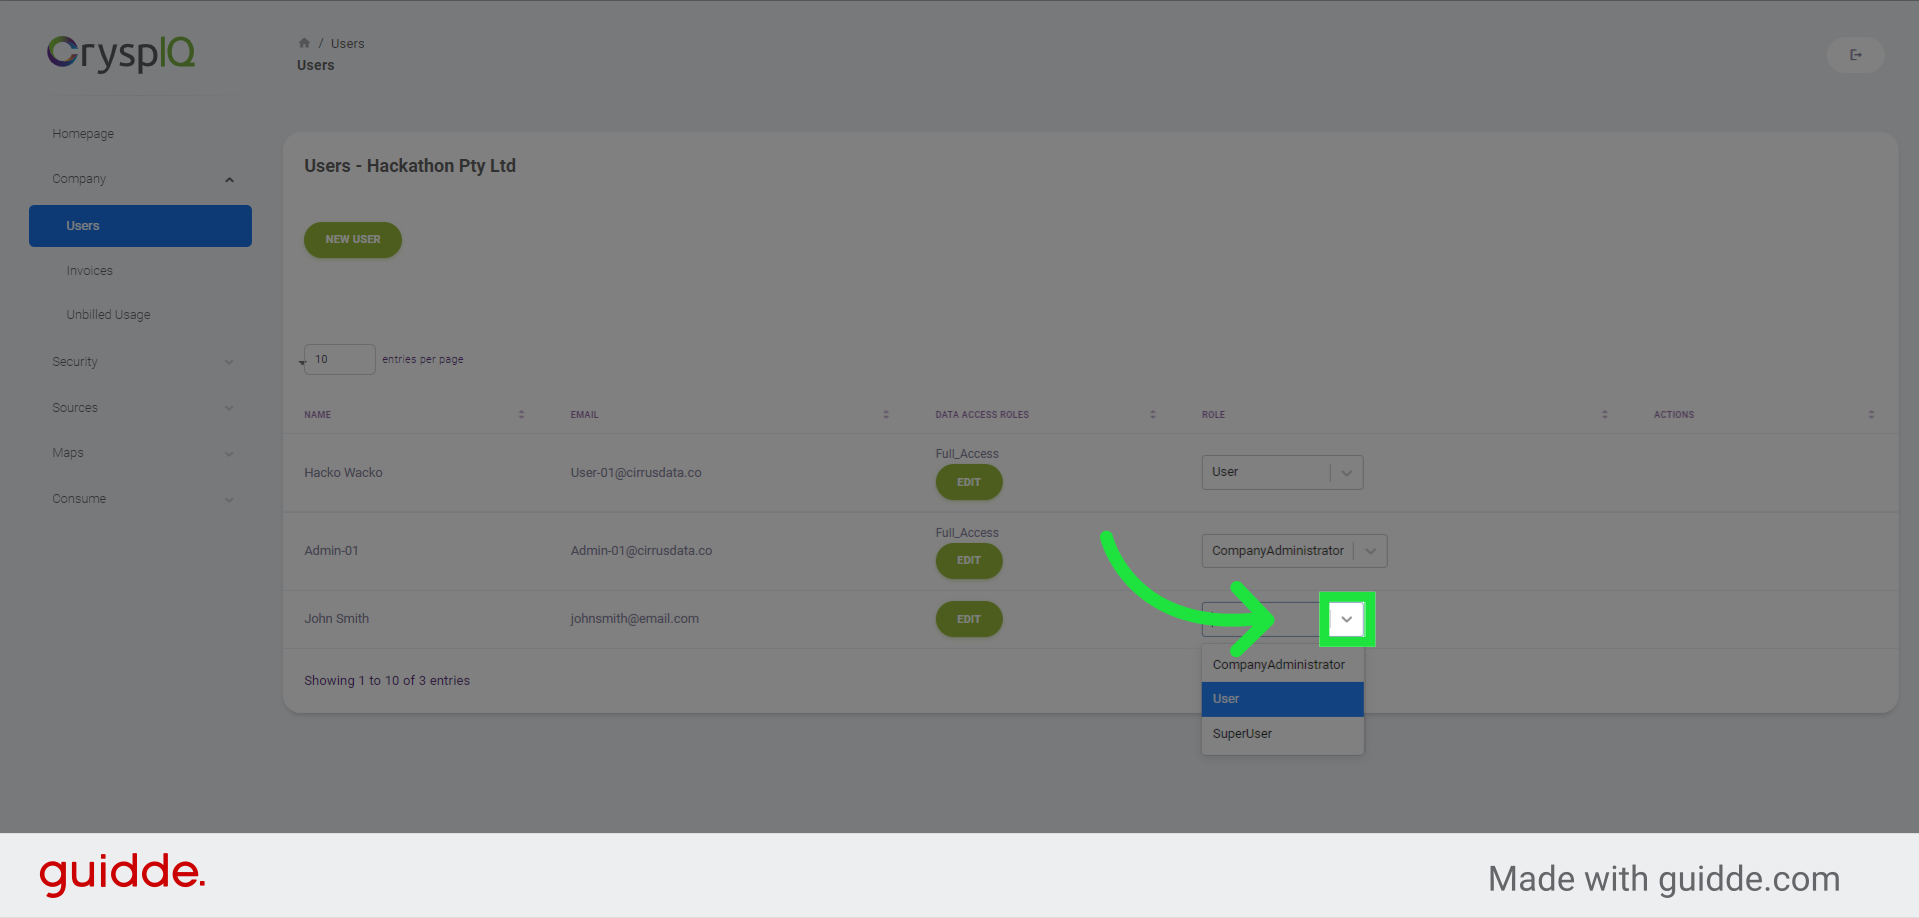
11. Select a system role from the list
A user can either be a Company Administrator or a normal user, assign a system role to the new user by selecting a value from the dropdown list.
In this guide, you learned how to add new users to CryspIQ. By following the provided instructions, you can easily create user accounts and assign access privileges to ensure your team has the appropriate permissions in the software.